In Part 1 of this guide we install a three-node OCP 4.7 cluster using the assisted installer. In Part 2 we will:
- Download and configure the oc client
- Setup an authentication provider using htpasswd
- Configure the registry (non-production)
- Create an ephemeral Drupal project.
Download the oc client:
Browse to https://mirror.openshift.com/pub/openshift-v4/x86_64/clients/ocp/stable/ and download the client appropriate for your system.
For Linux clients, wget the client tar file, extract the client tar file, and move the kubectl and oc executables to /usr/local/bin:
wget https://mirror.openshift.com/pub/openshift-v4/x86_64/clients/ocp/stable/openshift-client-linux.tar.gz
tar -zxvf openshift-client-linux.tar.gz
sudo mv kubectl/usr/local/bin/
Test the oc client:
Download the kubeconfig for your cluster from cloud.redhat.com:
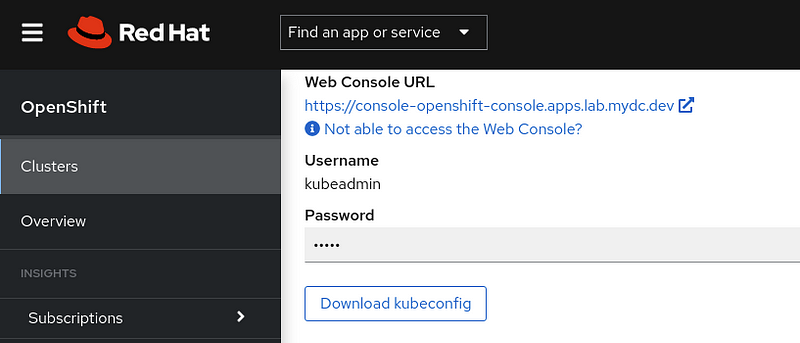
Set the KUBECONFIG environment variable and test the connection:
export KUBECONFIG=~/Downloads/kubeconfig
oc get nodes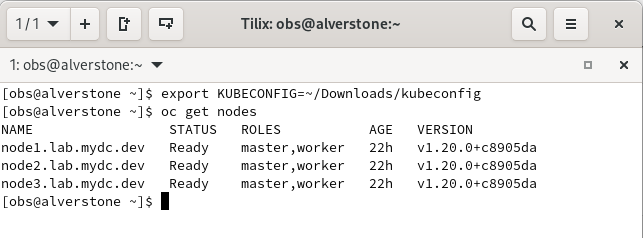
Running ‘oc get nodes’ should return the information pictured above.
Setup an authentication provider using htpasswd:
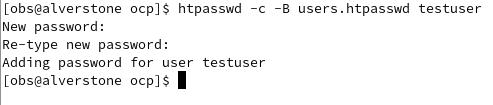
The kubeadmin user is not for permanent use, instead you should setup other means of authentication. The easiest way to set up a local user is with htpasswd. Create the users.htpasswd using the following command for testuser:
htpasswd -c -B users.htpasswd testuser
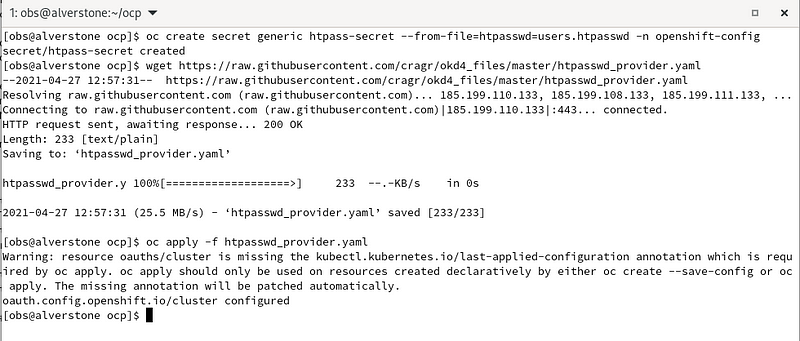
Create a secret in the openshift-config project using the users.htpasswd file you generated:
oc create secret generic htpass-secret --from-file=htpasswd=users.htpasswd -n openshift-config
Download the identity provider template for htpasswd from Github:
wget https://raw.githubusercontent.com/cragr/ocp4-the-easy-way/main/htpasswd_provider.yaml
Add the identity provider:
oc apply -f htpasswd_provider.yaml
Logout of the OpenShift Console. Then select htpasswd_provider and login with testuser and test password credentials.
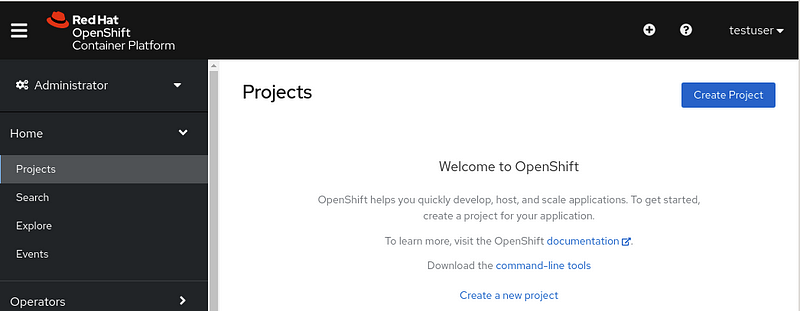
If you visit the Administrator page you should see no projects:
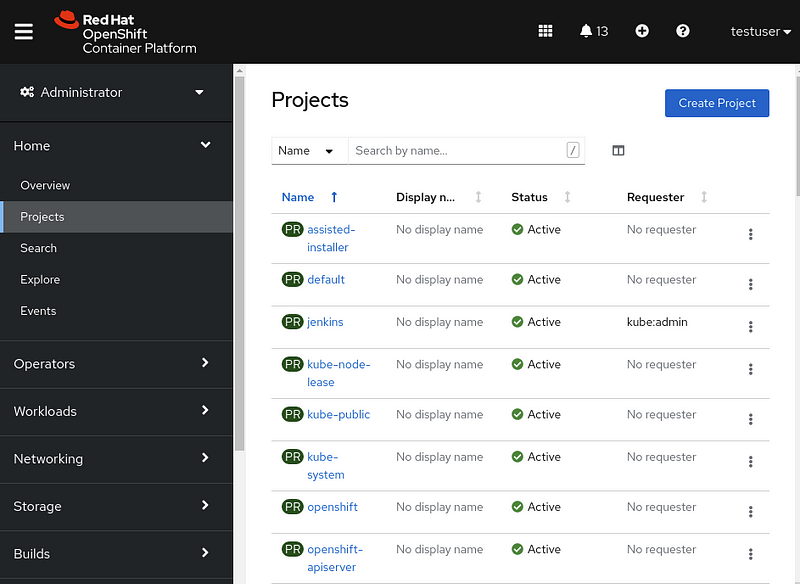
Give yourself cluster-admin access using ‘oc adm policy’, and the projects should immediately populate:
oc adm policy add-cluster-role-to-user cluster-admin testuser

Your user should now have cluster-admin level access:
Configure the registry as ephemeral (non-production):
In this example, we will set the registry to an empty directory. The result of this is that all images will be lost when the registry pod restarts.
Patch the registry operator to management state and storage:
oc patch configs.imageregistry.operator.openshift.io cluster --type merge --patch '{"spec":{"managementState":"Managed"}}'
oc patch configs.imageregistry.operator.openshift.io cluster --type merge --patch '{"spec":{"storage":{"emptyDir":{}}}}'
Create an ephemeral Drupal project:
Create a new project using the oc client:
oc new-project drupal-test
Create a new app using the php 7.3 S2i image and use the cragr/drupal-lab GitHub repo for the source. Expose the service to create a route.
oc new-app openshift/php:7.3~https://github.com/cragr/drupal-lab.git
oc expose svc/drupal
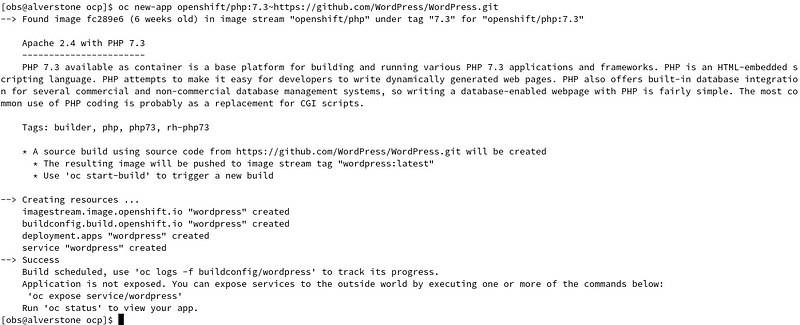

Create a new app using the MariaDB 10.3 image with some environment variables:
oc new-app openshift/mariadb:10.3 --name mariadb --env MYSQL_DATABASE=drupal --env MYSQL_USER=drupal --env MYSQL_PASSWORD=drupal

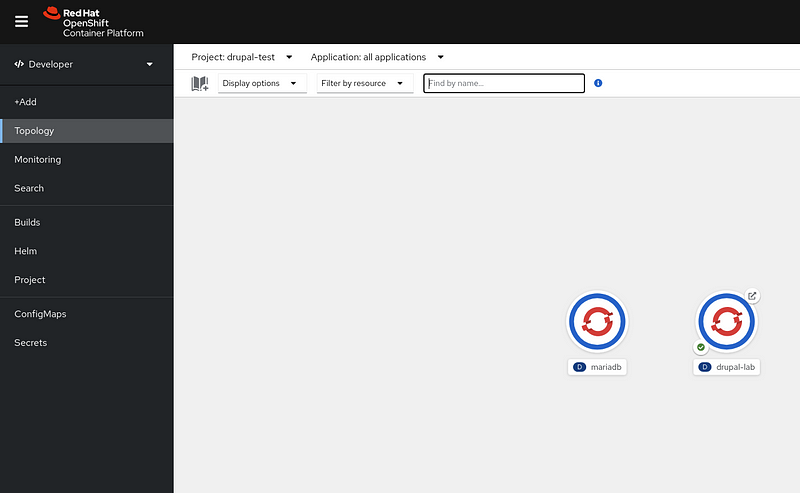
Open the OpenShift console and browse to the drupal-test project. Once the WordPress image is built and ready, it will be dark blue like the MariaDB instance show here:
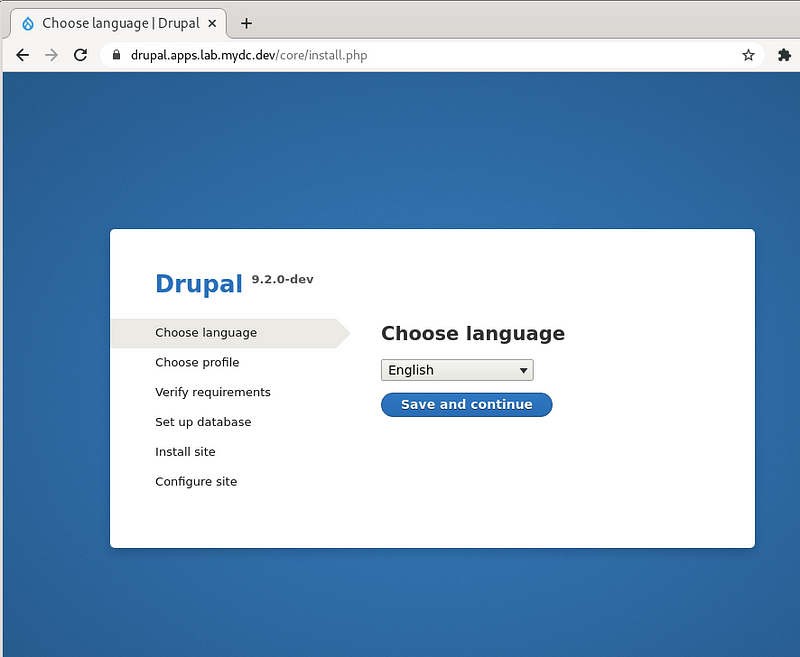
Create a secure route using the terminal:

oc create route edge drupal --service=drupal-lab --insecure-policy=Redirect --hostname=drupal.apps.lab.mydc.dev
Browse to your drupal URL and begin to configure the site:
Congratulations! You have an excellent environment for development and testing of OpenShift applications. Good luck!