Updated: 7/29/2020
After listening to some feedback in the chat on a recent Twitch stream and the okd-wg mailing list I decided to create a guide for installing an OKD 4.5 SNC (single node cluster). This guide will use no worker nodes and only a single control-plane node with the goal of reducing the total amount of resources needed to get OKD up and running for a test drive.
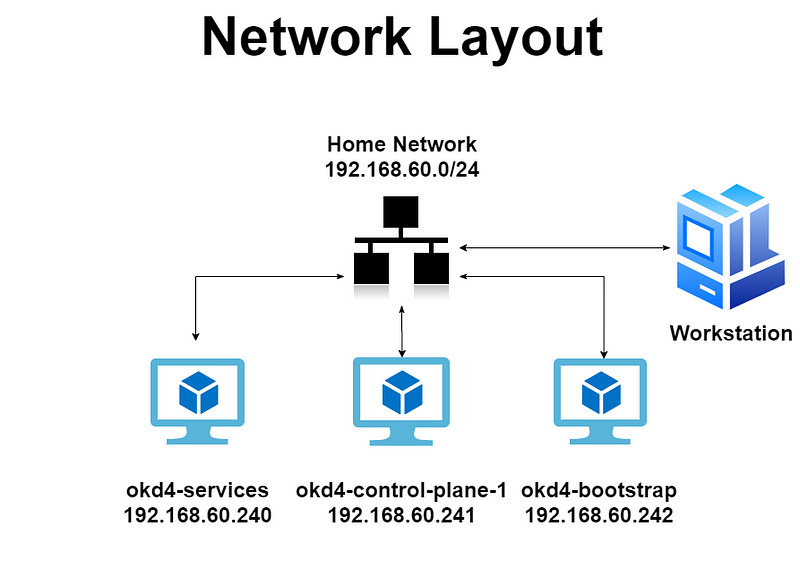
VM Overview:
For this installation, I used an ESXi 6.5 host on my local network and allocated the total virtual machine RAM usage to 22GB. ESXi 6.5 has a minimum of 4GB of RAM but you should be able to run this on an ESXi host with 24GB of RAM. Here is a breakdown of the virtual machines and network layout:

Create the okd4-services VM:
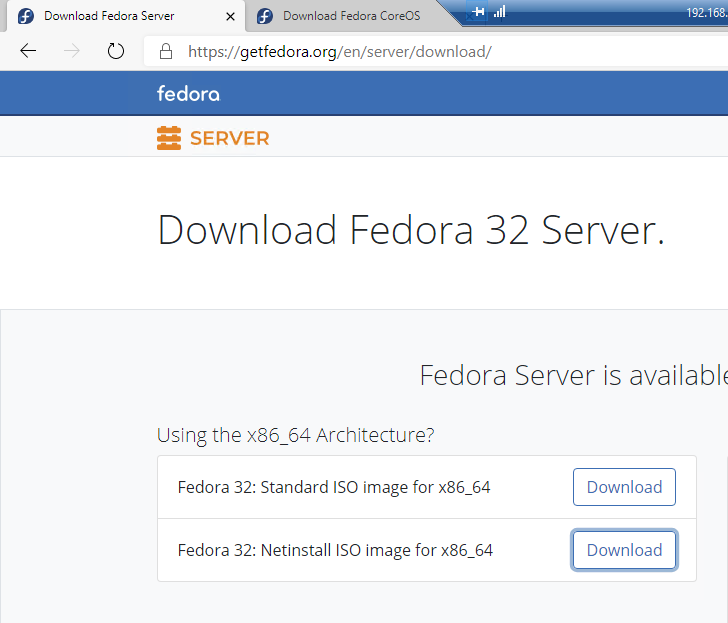
Download the Fedora Server Standard ISO and upload it to your ESXi host datastore.
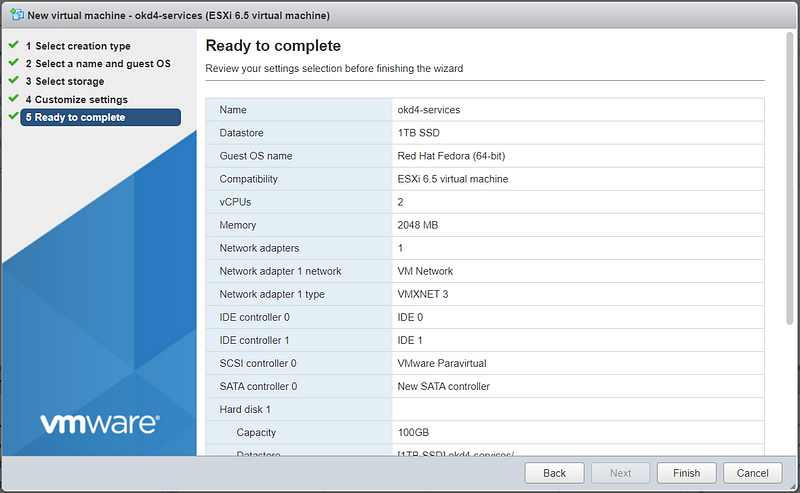
Create a new Virtual Machine. Choose Guest OS as Linux and Select CentOS 7 (64-bit).

Select the Datastore and customize the settings to 2 vCPU, 2GB RAM, 100GB HD. Attach the Fedora Serer ISO to the CD/DVD drive.

Review your settings and click Finish.
Install Fedora Server 32 on the okd4-services VM:
Run through the installation.
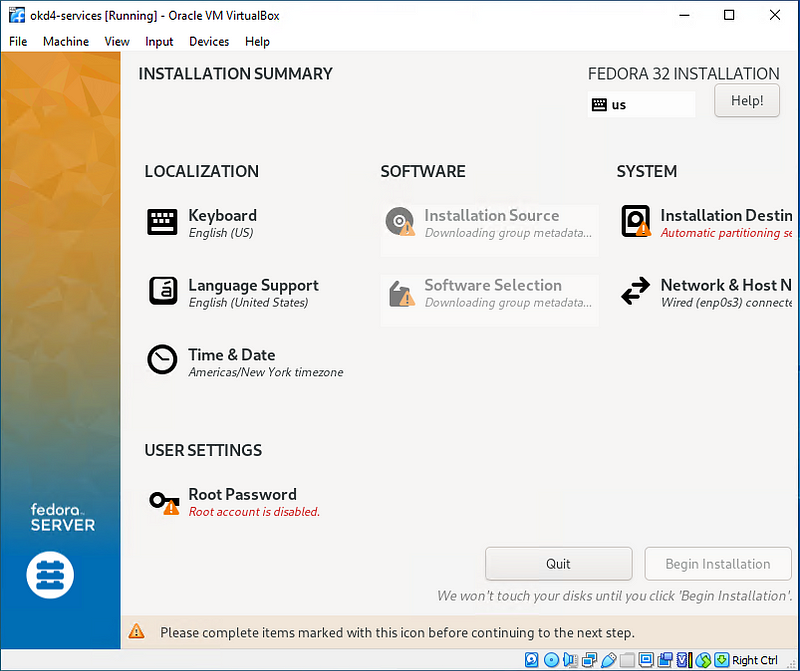
I prefer to use the “Standard Partition” storage configuration to use the entire drive at “/”. On the “Installation Destination” page, click on Custom under Storage Configuration, then Done.
On the Manual Partitioning page, select Standard Partition, then click “Click Here to Create them automatically.”
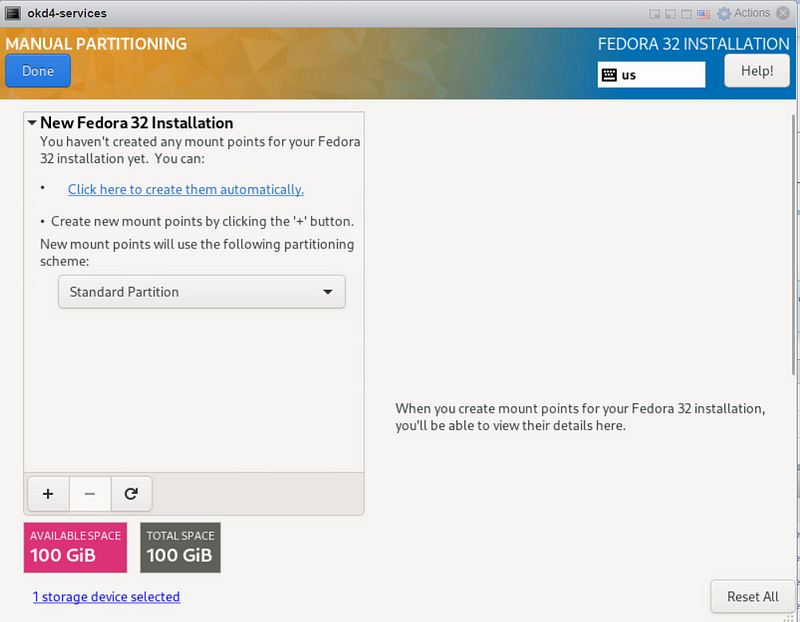
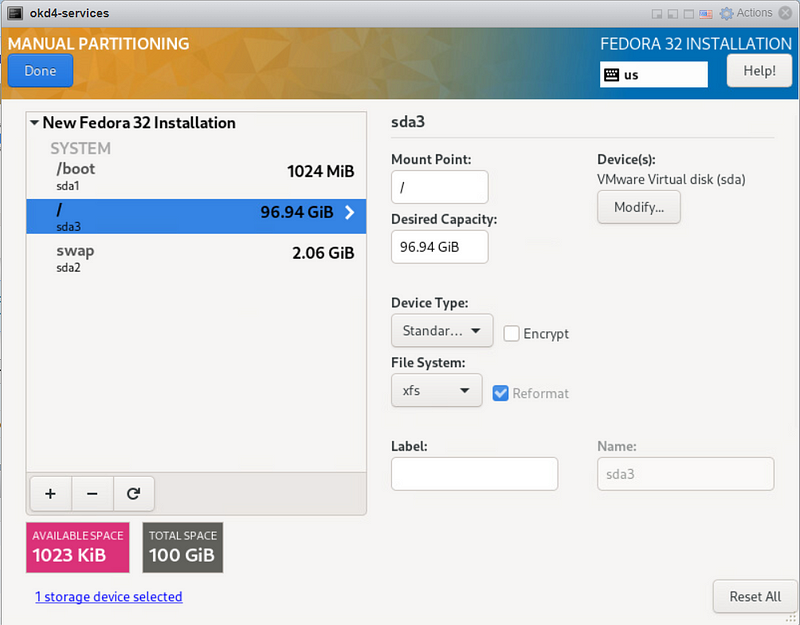
Select the “/” partition and click the “-” to delete it. Then click the “+” to re-add it. At this point, it should use the entire drive. Click Done, then Accept the changes.
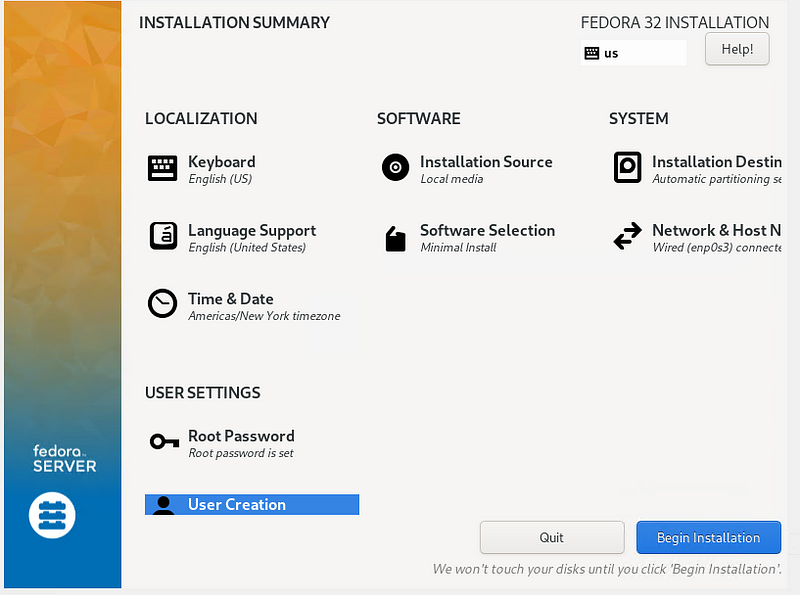
For Software Selection, choose “Fedora Custom Operating System” and include the “Guest Agents” add-on.

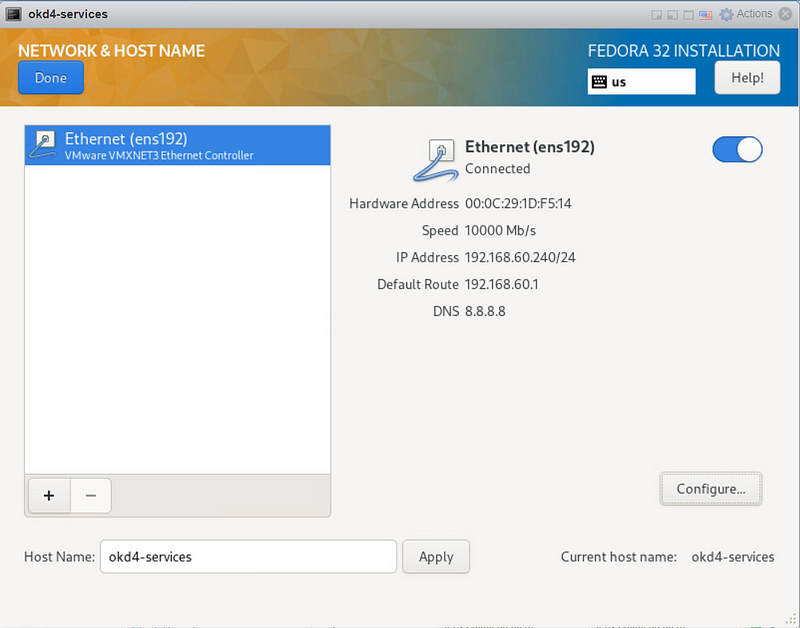
Enable the NIC connected to the VM Network and set the hostname as okd4-services, then click Apply and Done.
Set the Root password, and create an admin user. Click “Begin Installation” to start the install.
After the installation has completed, login, and update the OS.
sudo dnf update -y
sudo dnf install -y git wget vim
sudo init 6
Create bootstrap and master nodes:
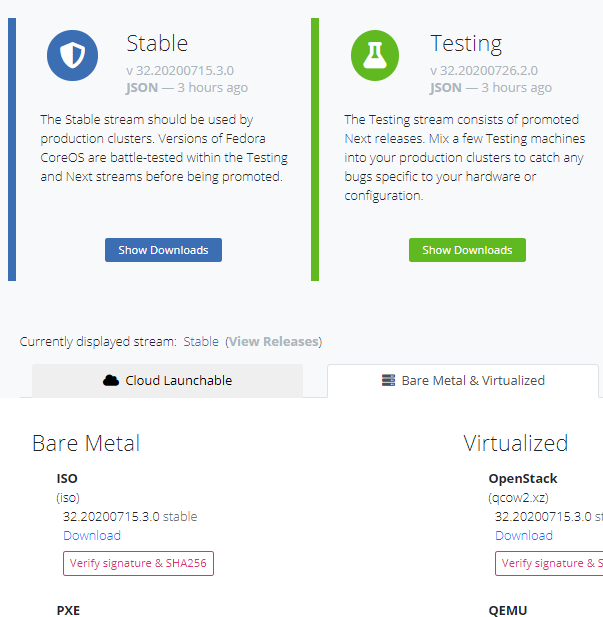
Download the Fedora CoreOS Bare Metal ISO and upload it to your ESXi datastore.
The latest stable version at the time of writing is 32.20200715.3.0
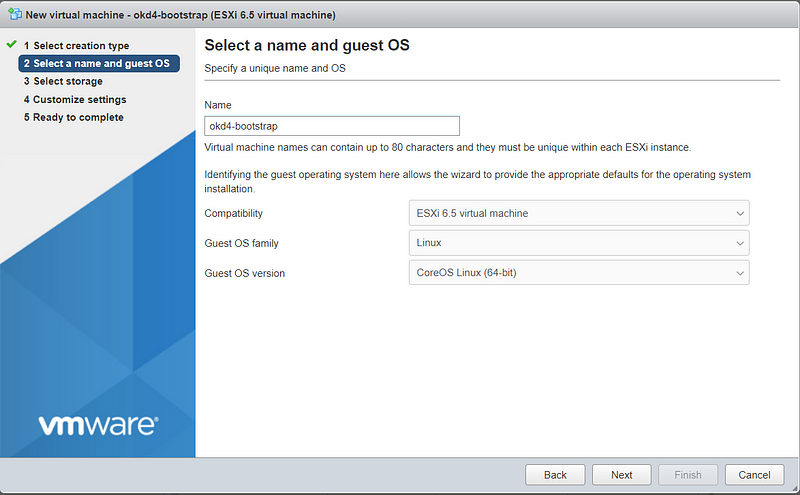
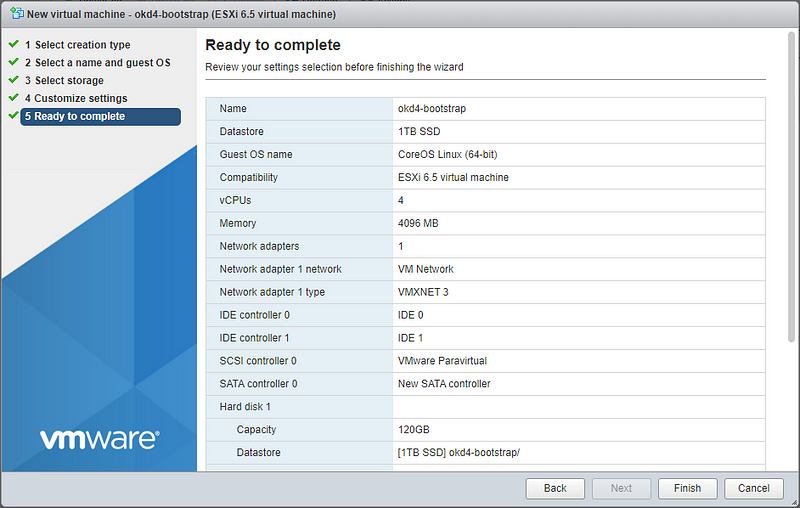
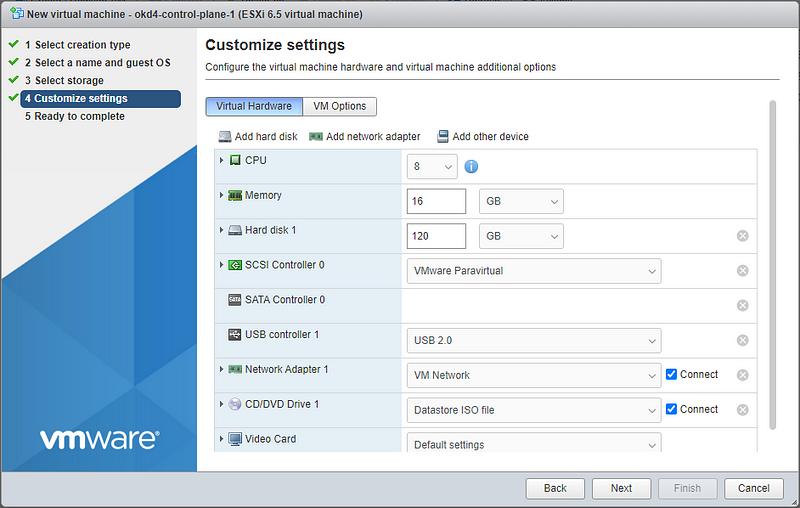
Create the two ODK nodes (okd4-bootstrap and okd4-control-plane-1) on your ESXi host using the values in the spreadsheet at the beginning of this post:
okd4-bootstrap:

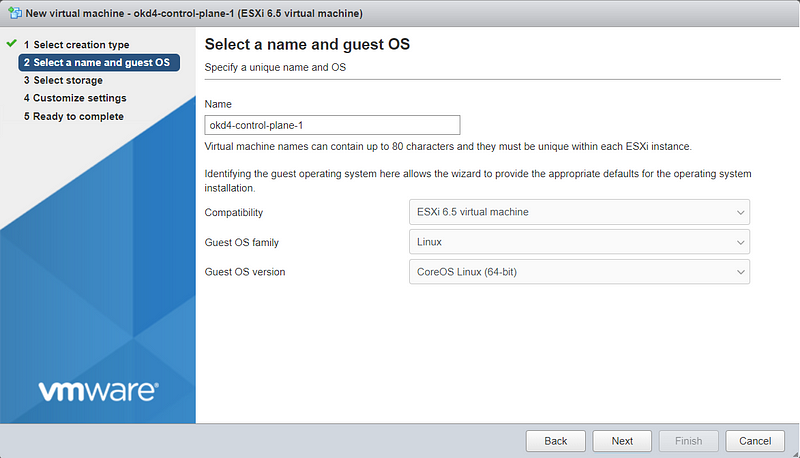
okd4-control-plane-1

You should end up with the following VMs:

Configure okd4-services VM to host various services:
The okd4-services VM is used to provide DNS, NFS exports, web server, and load balancing.
Open a terminal on the okd4-services VM and clone the okd4_files repo (branch snc) that contains the DNS, HAProxy, and install-conf.yaml example files:
cd
git clone -b snc https://github.com/cragr/okd4_files.git
cd okd4_files
Install bind (DNS)
sudo dnf -y install bind bind-utils
Copy the named config files and zones:
sudo cp named.conf /etc/named.conf
sudo cp named.conf.local /etc/named/
sudo mkdir /etc/named/zones
sudo cp db* /etc/named/zones
Enable and start named:
sudo systemctl enable named
sudo systemctl start named
sudo systemctl status named
Create firewall rules:
sudo firewall-cmd --permanent --add-port=53/udp
sudo firewall-cmd --reload
Change the DNS on the okd4-service to 127.0.0.1:
sudo nmcli connection modify ens192 ipv4.dns "127.0.0.1"
Restart the network services on the okd4-services VM:
sudo systemctl restart NetworkManager
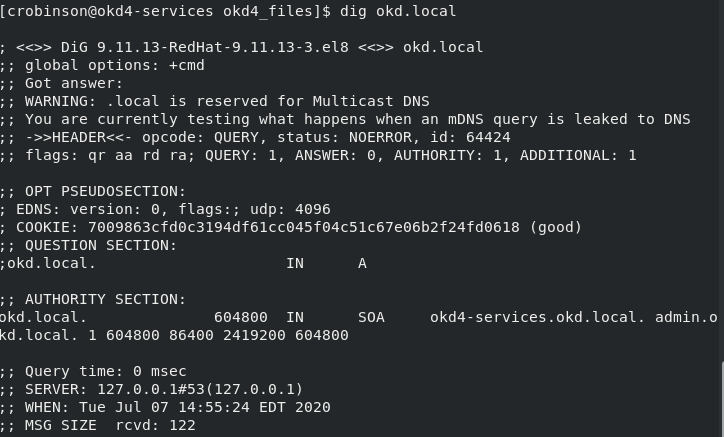
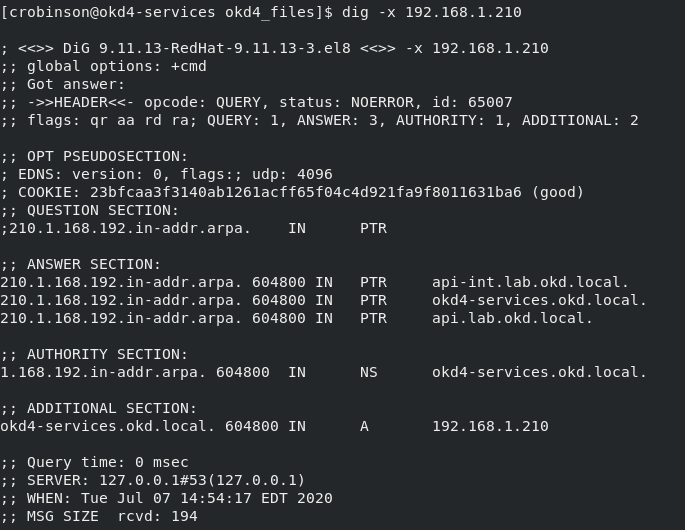
Test DNS on the okd4-services.
dig okd.local
dig –x 192.168.60.240
With DNS working correctly, you should see the following results:
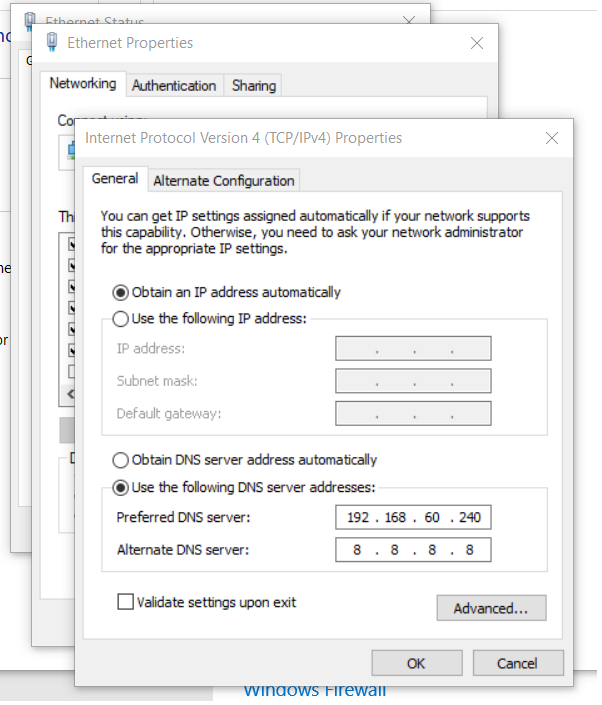
Change your workstation’s primary DNS to match the okd4-services IP, 192.168.60.240 so you can resolve the DNS entries.
Install HAProxy:
sudo dnf install haproxy -y
Copy haproxy config from the git okd4_files directory :
sudo cp haproxy.cfg /etc/haproxy/haproxy.cfg
Start, enable, and verify HA Proxy service:
sudo setsebool -P haproxy_connect_any 1
sudo systemctl enable haproxy
sudo systemctl start haproxy
sudo systemctl status haproxy
Add OKD firewall ports:
sudo firewall-cmd --permanent --add-port=6443/tcp
sudo firewall-cmd --permanent --add-port=22623/tcp
sudo firewall-cmd --permanent --add-service=http
sudo firewall-cmd --permanent --add-service=https
sudo firewall-cmd --reload
Install Apache/HTTPD
sudo dnf install -y httpd
Change httpd to listen port to 8080:
sudo sed -i 's/Listen 80/Listen 8080/' /etc/httpd/conf/httpd.conf
Enable and Start httpd service/Allow port 8080 on the firewall:
sudo setsebool -P httpd_read_user_content 1
sudo systemctl enable httpd
sudo systemctl start httpd
sudo firewall-cmd --permanent --add-port=8080/tcp
sudo firewall-cmd --reload
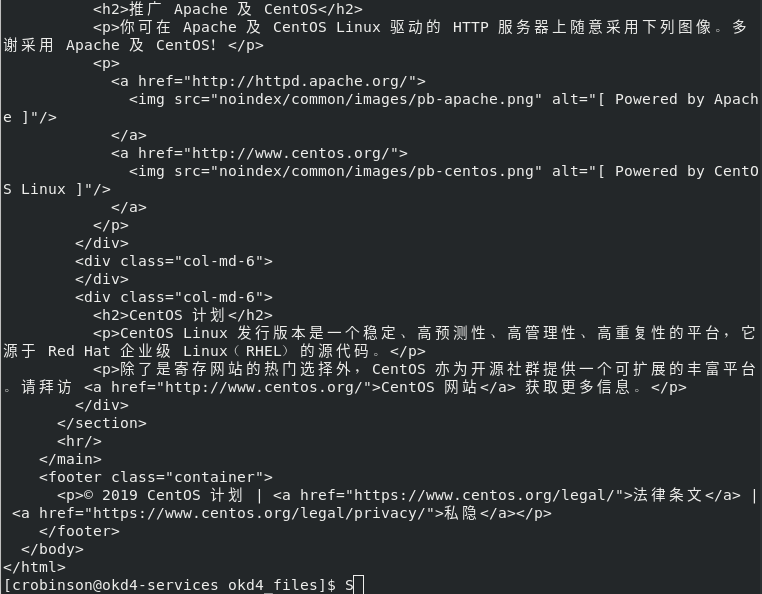
Test the webserver:
curl localhost:8080
A successful curl should look like this:
Congratulations, You Are Half Way There!
Download the openshift-installer and oc client:
SSH to the okd4-services VM
To download the latest oc client and openshift-install binaries, you need to use an existing version of the oc client.
Download the 4.5 version of the oc client and openshift-install from the OKD releases page. Example:
cd
wget https://github.com/openshift/okd/releases/download/4.5.0-0.okd-2020-07-29-070316/openshift-client-linux-4.5.0-0.okd-2020-07-29-070316.tar.gz
wget https://github.com/openshift/okd/releases/download/4.5.0-0.okd-2020-07-29-070316/openshift-install-linux-4.5.0-0.okd-2020-07-29-070316.tar.gz
Extract the okd version of the oc client and openshift-install:
tar -zxvf openshift-client-linux-4.5.0-0.okd-2020-07-29-070316.tar.gz
tar -zxvf openshift-install-linux-4.5.0-0.okd-2020-07-29-070316.tar.gz
Move the kubectl, oc, and openshift-install to /usr/local/bin and show the version:
sudo mv kubectl oc openshift-install /usr/local/bin/
oc version
openshift-install version
The latest and recent releases are available at https://origin-release.svc.ci.openshift.org
Setup the openshift-installer:
In the install-config.yaml, you can either use a pull-secret from RedHat or the default of “{“auths”:{“fake”:{“auth”: “bar”}}}” as the pull-secret.
Generate an SSH key if you do not already have one.
ssh-keygen
Create an install directory and copy the install-config.yaml file:
cd
mkdir install_dir
cp okd4_files/install-config.yaml ./install_dir
Edit the install-config.yaml in the install_dir, add your ssh key, and edit the controlPlane master replicas to 1. Backup the install-config.yaml as it will be removed when generating the manifests:
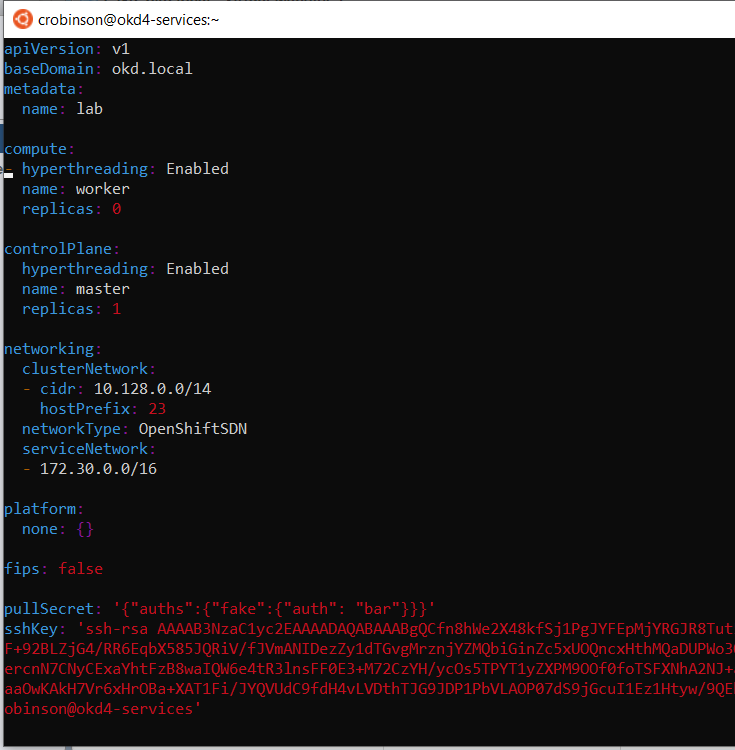
vim ./install_dir/install-config.yaml
cp ./install_dir/install-config.yaml ./install_dir/install-config.yaml.bak
Generate the Kubernetes manifests for the cluster, ignore the warning:
openshift-install create manifests --dir=install_dir/
Now you can create the ignition-configs:
openshift-install create ignition-configs --dir=install_dir/
Note: If you reuse the install_dir, make sure it is empty. Hidden files are created after generating the configs, and they should be removed before you use the same folder on a 2nd attempt.
Host ignition and Fedora CoreOS files on the webserver:
Create okd4 directory in /var/www/html:
sudo mkdir /var/www/html/okd4
Copy the install_dir contents to /var/www/html/okd4 and set permissions:
sudo cp -R install_dir/* /var/www/html/okd4/
sudo chown -R apache: /var/www/html/
sudo chmod -R 755 /var/www/html/
Test the webserver:
curl localhost:8080/okd4/metadata.json
Download the Fedora CoreOS bare-metal bios image and sig files and shorten the file names:
cd /var/www/html/okd4/
sudo wget https://builds.coreos.fedoraproject.org/prod/streams/stable/builds/32.20200715.3.0/x86_64/fedora-coreos-32.20200715.3.0-metal.x86_64.raw.xz
sudo wget https://builds.coreos.fedoraproject.org/prod/streams/stable/builds/32.20200715.3.0/x86_64/fedora-coreos-32.20200715.3.0-metal.x86_64.raw.xz.sig
sudo mv fedora-coreos-32.20200715.3.0-metal.x86_64.raw.xz fcos.raw.xz
sudo mv fedora-coreos-32.20200715.3.0-metal.x86_64.raw.xz.sig fcos.raw.xz.sig
sudo chown -R apache: /var/www/html/
sudo chmod -R 755 /var/www/html/
Starting the bootstrap node:
NOTE: I recommend you use a DHCP lease for both the bootstrap and control-plane nodes if possible instead of the line below beginning with “ip=” which will set static IP addresses.
Power on the odk4-bootstrap VM. Press the TAB key to edit the kernel boot options. Once completed, press Enter to boot.
ip=192.168.60.242::192.168.60.1:255.255.255.0:::none nameserver=192.168.60.240 coreos.inst.install_dev=/dev/sda coreos.inst.image_url=http://192.168.60.240:8080/okd4/fcos.raw.xz coreos.inst.ignition_url=http://192.168.60.240:8080/okd4/bootstrap.ign
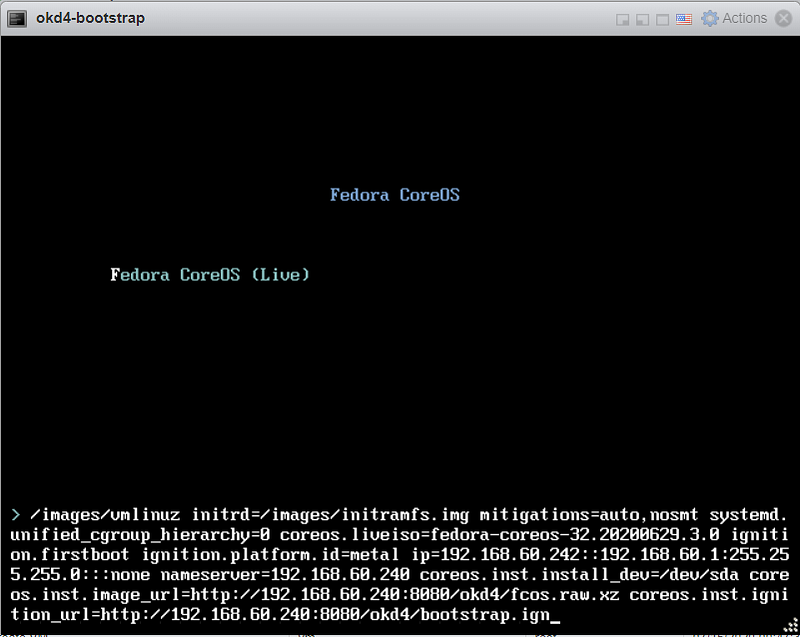
You should see that the fcos.raw.xz image and signature are downloading:
Starting the control-plane-1 node:
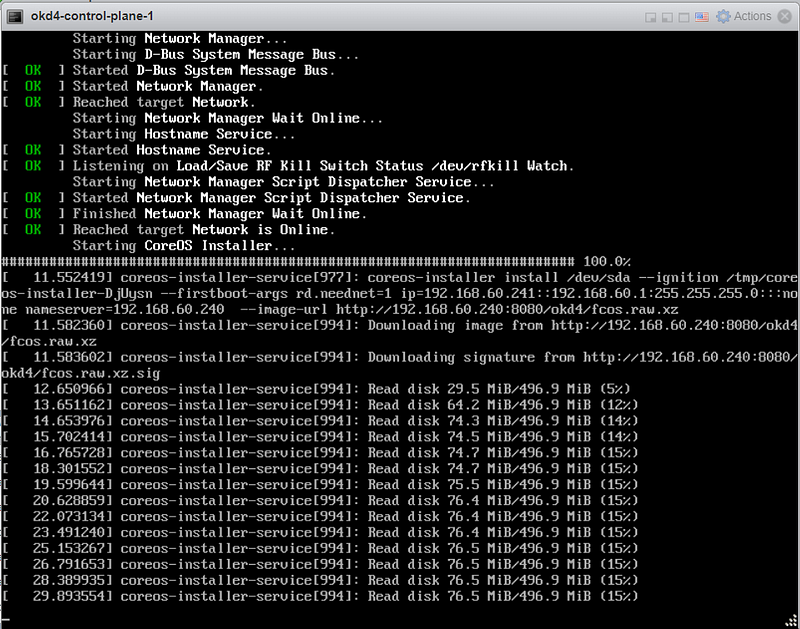
Power on the odk4-control-plane-1 VM. Press the TAB key to edit the kernel boot options. Once completed, press Enter to boot.
ip=192.168.60.241::192.168.60.1:255.255.255.0:::none nameserver=192.168.60.240 coreos.inst.install_dev=/dev/sda coreos.inst.image_url=http://192.168.60.240:8080/okd4/fcos.raw.xz coreos.inst.ignition_url=http://192.168.60.240:8080/okd4/master.ign
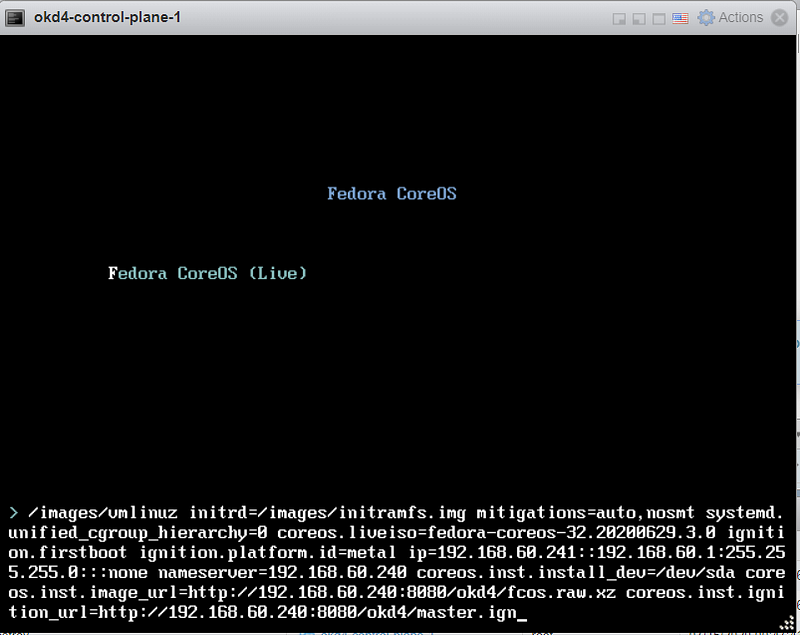
You should see that the fcos.raw.xz image and signature are downloading:
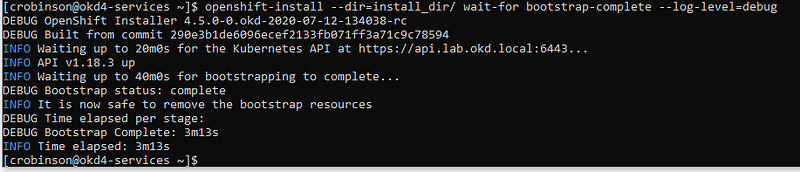
Monitor the bootstrap installation:
You can monitor the bootstrap process from the okd4-services node:
openshift-install --dir=install_dir/ wait-for bootstrap-complete --log-level=info
Once the bootstrap process is complete, which can take upwards of 30 minutes, you can shutdown your bootstrap node. Now is a good time to edit the /etc/haproxy/haproxy.cfg, comment out the bootstrap node, and reload the haproxy service.
sudo sed -i '/ okd4-bootstrap /s/^/#/' /etc/haproxy/haproxy.cfg
sudo systemctl reload haproxy
Login to the cluster and check the status:
Now that the control-plane node is online, you should be able to login with the oc client. Use the following commands to log in and check the status of your cluster:
export KUBECONFIG=~/install_dir/auth/kubeconfig
oc whoami
oc get nodes

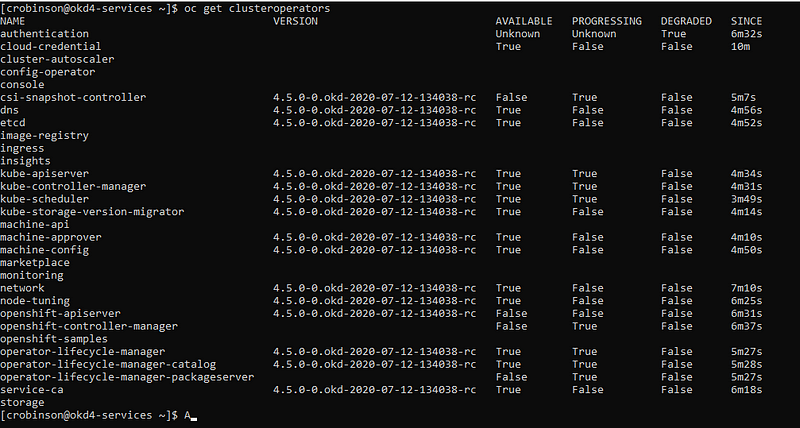
Check the status of the cluster operators.
oc get clusteroperators
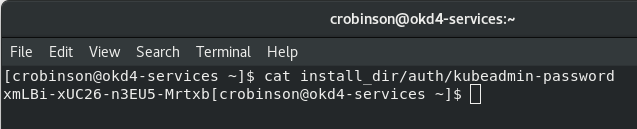
Once the console operator is available login to the web console.Get your kubeadmin password from the install_dir/auth folder:
cat install_dir/auth/kubeadmin-password
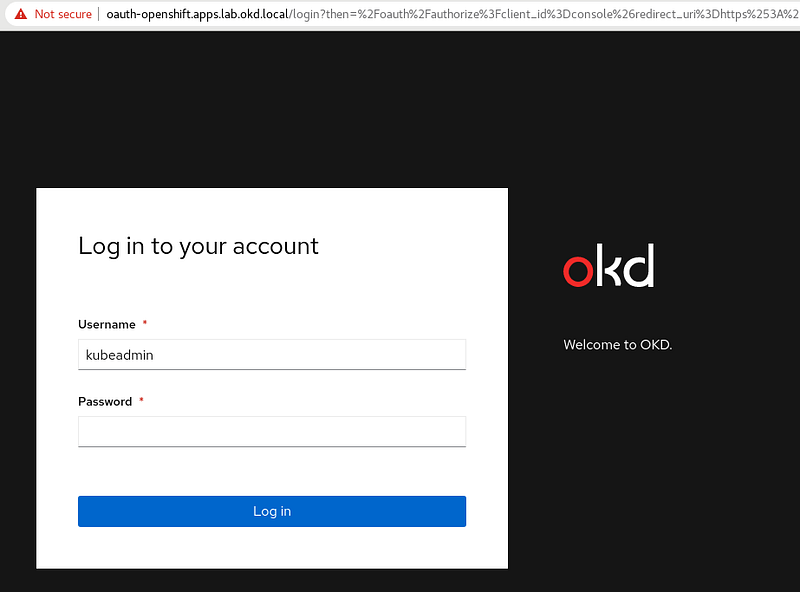
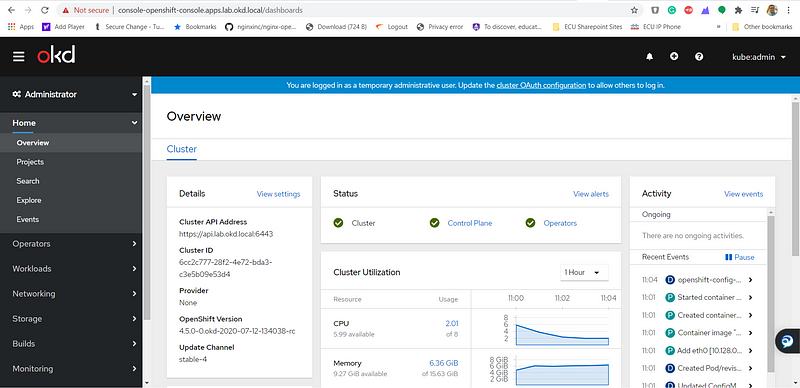
Open your web browser to https://console-openshift-console.apps.lab.okd.local/ and login as kubeadmin with the password from above:
The cluster status may still say upgrading, and it continues to finish the installation.
Persistent Storage:
We need to create some persistent storage for our registry before we can complete this project. Let’s configure our okd4-services VM as an NFS server and use it for persistent storage.
Login to your okd4-services VM and begin to set up an NFS server. The following commands install the necessary packages, enable services, and configure file and folder permissions.
sudo dnf install -y nfs-utils
sudo systemctl enable nfs-server rpcbind
sudo systemctl start nfs-server rpcbind
sudo mkdir -p /var/nfsshare/registry
sudo chmod -R 777 /var/nfsshare
sudo chown -R nobody:nobody /var/nfsshare
Create an NFS Export
Add this line in the new /etc/exports file “/var/nfsshare 192.168.60.0/24(rw,sync,no_root_squash,no_all_squash,no_wdelay)”
echo '/var/nfsshare 192.168.60.0/24(rw,sync,no_root_squash,no_all_squash,no_wdelay)' | sudo tee /etc/exports

Restart the nfs-server service and add firewall rules:
sudo setsebool -P nfs_export_all_rw 1
sudo systemctl restart nfs-server
sudo firewall-cmd --permanent --zone=public --add-service mountd
sudo firewall-cmd --permanent --zone=public --add-service rpc-bind
sudo firewall-cmd --permanent --zone=public --add-service nfs
sudo firewall-cmd --reload
Registry configuration:
Create a persistent volume on the NFS share. Use the registry_py.yaml in okd4_files folder from the git repo:
oc create -f okd4_files/registry_pv.yaml
oc get pv

Edit the image-registry operator:
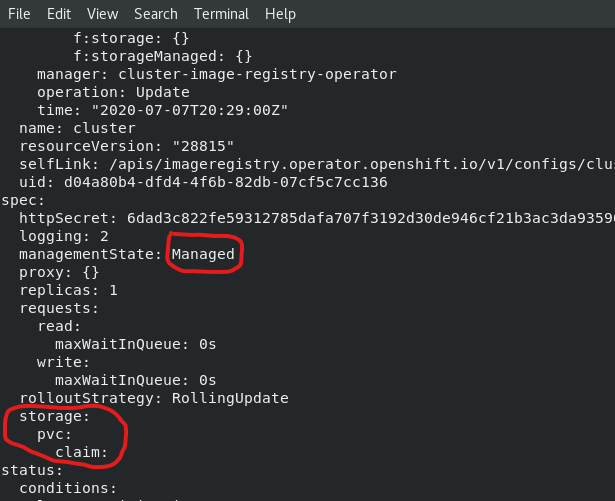
oc edit configs.imageregistry.operator.openshift.io
Change the managementState: from Removed to Managed. Under storage: add the pvc: and claim: blank to attach the PV and save your changes automatically:
managementState: Managedstorage:
    pvc:
      claim:
Check your persistent volume, and it should now be claimed:
oc get pv

Check the export size, and it should be zero. In the next section, we will push to the registry, and the file size should not be zero.
du -sh /var/nfsshare/registry

In the next section, we will create a WordPress project and push it to the registry. After the push, the NFS export should show 200+ MB.
Create WordPress Project:
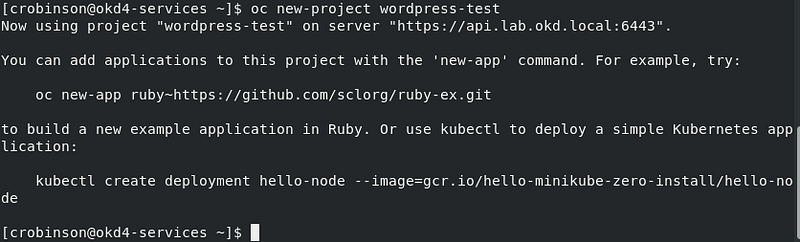
Create a new OKD project.
oc new-project wordpress-test
Create a new app using the centos php73 s2i image from docker hub and use the WordPress GitHub repo for the source. Expose the service to create a route.
oc new-app centos/php-73-centos7~https://github.com/WordPress/WordPress.git
oc expose svc/wordpress

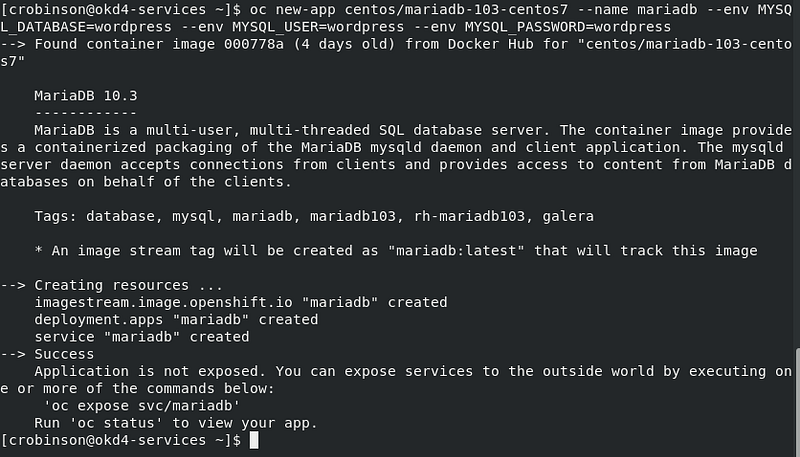
Create a new app using the centos7 MariaDB image with some environment variables:
oc new-app centos/mariadb-103-centos7 --name mariadb --env MYSQL_DATABASE=wordpress --env MYSQL_USER=wordpress --env MYSQL_PASSWORD=wordpress
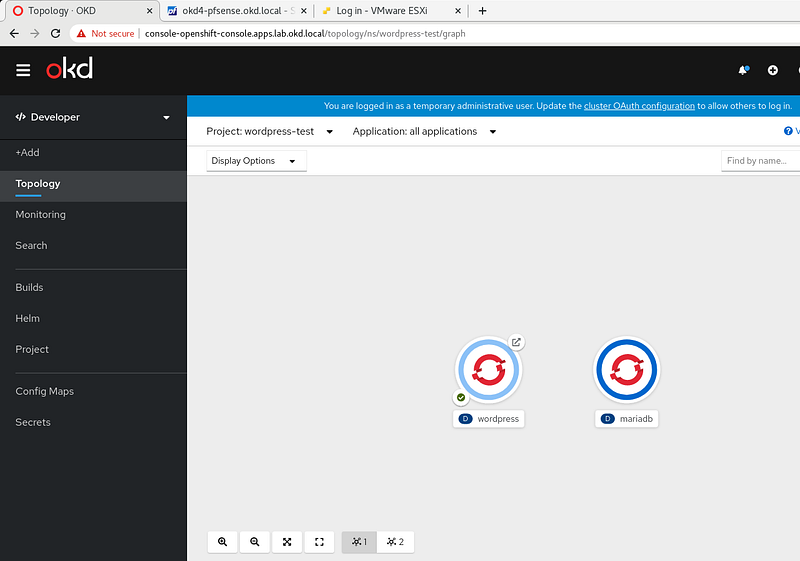
Open the OpenShift console and browse to the WordPress-test project. Once the WordPress image is built and ready, it will be dark blue like the MariaDB instance show here:
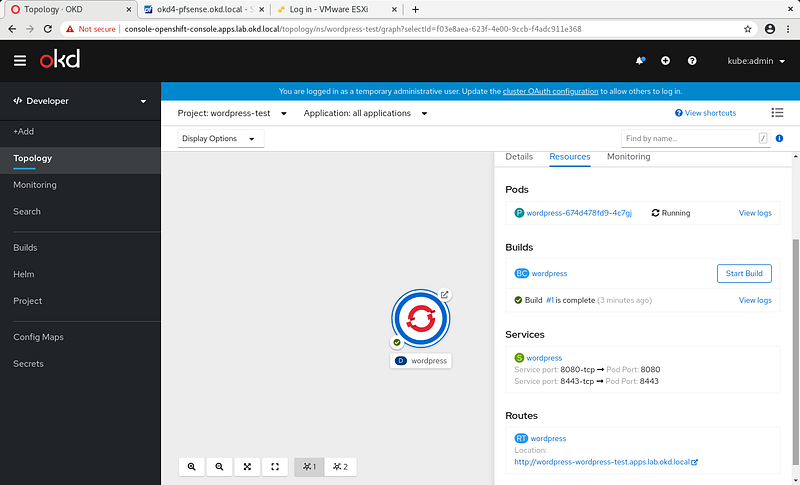
Click on the WordPress object and click on the route to open it in your web browser:
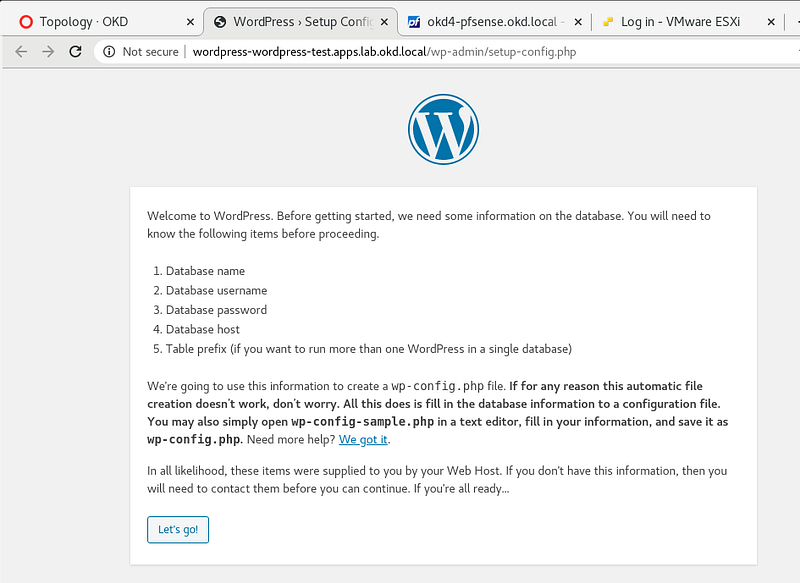
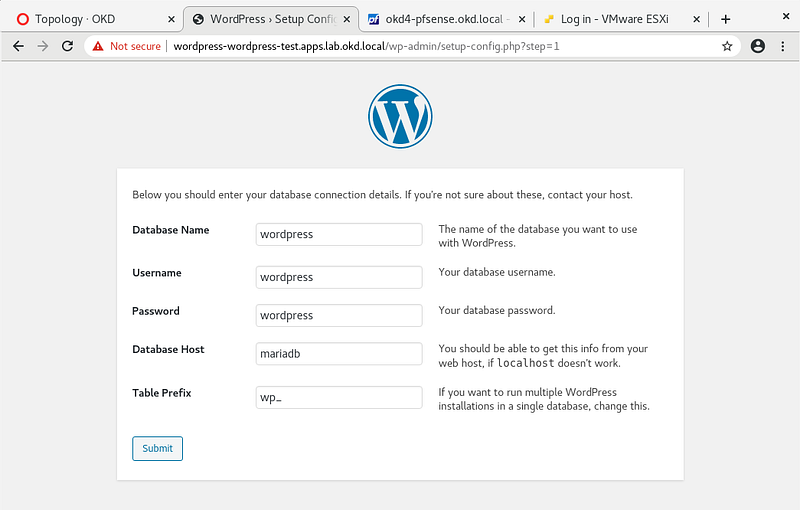
You should see the WordPress setup config, click Let’s Go.
Fill in the database, username, password, and database host as pictured and run the installation:
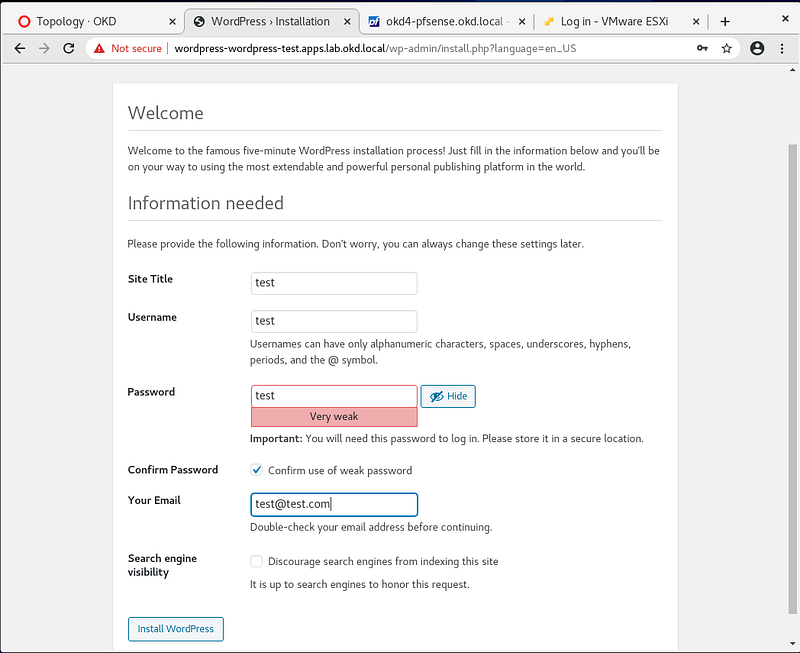
Fill out the welcome information and click Install WordPress.
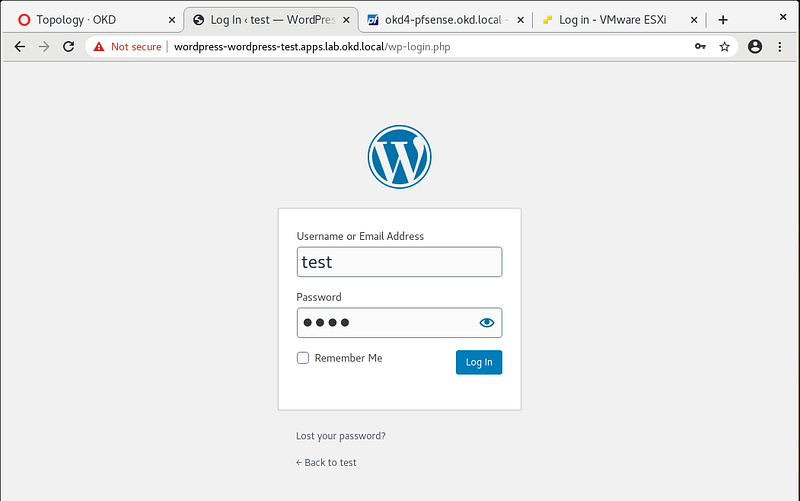
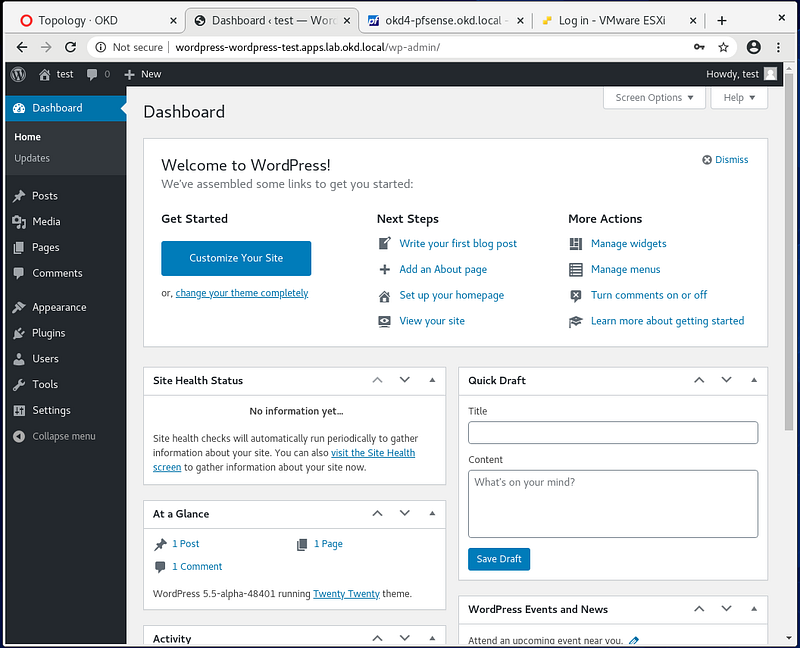
Log in, and you should have a working WordPress installation:
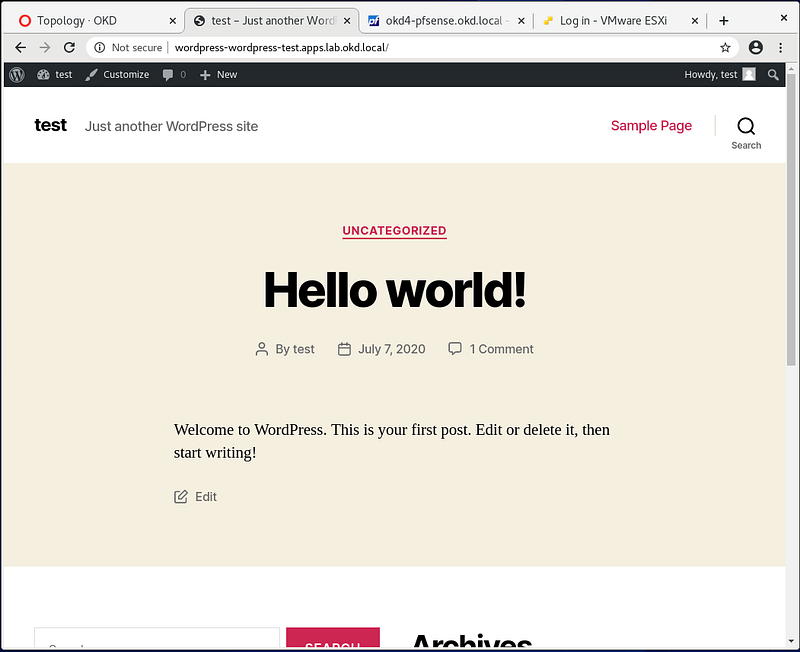
Check the size of your NFS export on the okd4-services VM. It should be around 300MB in size.
du -sh /var/nfsshare/registry/

You have just verified your persistent volume is working.
HTPasswd Setup:
The kubeadmin is a temporary user. The easiest way to set up a local user is with htpasswd.
cd
cd okd4_files
htpasswd -c -B -b users.htpasswd testuser testpassword

Create a secret in the openshift-config project using the users.htpasswd file you generated:
oc create secret generic htpass-secret --from-file=htpasswd=users.htpasswd -n openshift-config
Add the identity provider.
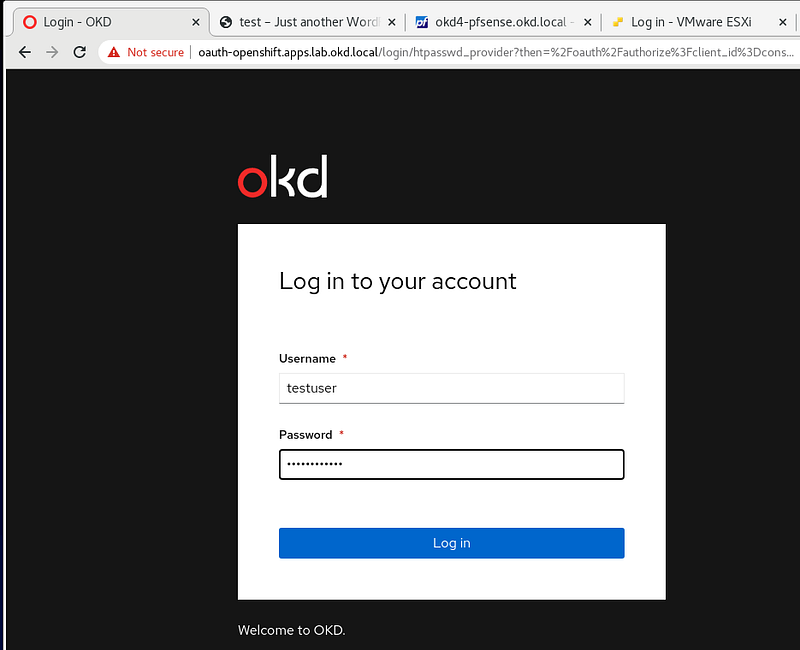
oc apply -f htpasswd_provider.yaml

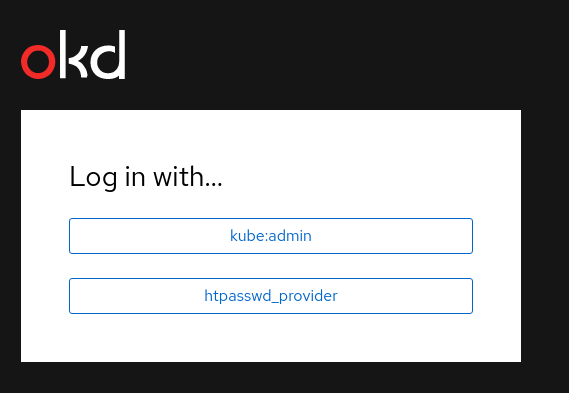
Logout of the OpenShift Console. Then select htpasswd_provider and login with testuser and testpassword credentials.
If you visit the Administrator page you should see no projects:
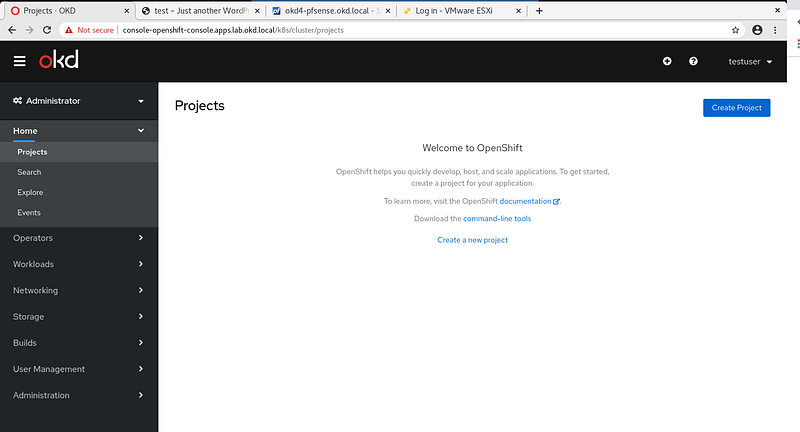
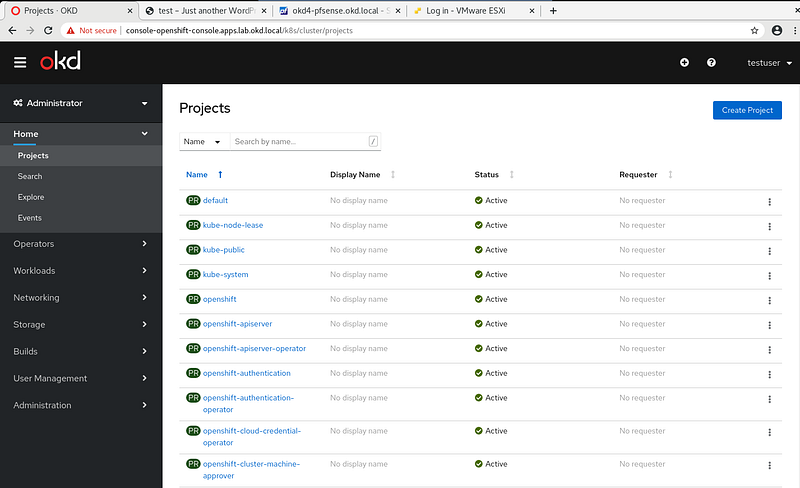
Give yourself cluster-admin access, and the projects should immediately populate:
oc adm policy add-cluster-role-to-user cluster-admin testuser
Your user should now have cluster-admin level access:
Congrats! You have created an OKD Single Node Cluster!
Hopefully, you have created an OKD single node cluster and learned a few things along the way. At this point, you should have a decent basis to tinker with OKD and continue to learn.
Here are some resources available to help you along your journey:
To report issues, use the OKD Github Repo: https://github.com/openshift/okd
For support check out the #openshift-users channel on k8s Slack
The OKD Working Group meets bi-weekly to discuss the development and next steps. The meeting schedule and location are tracked in the openshift/community repo.
Google group for okd-wg: https://groups.google.com/forum/#!forum/okd-wg